Recently, I read on Reddit that you can create QRs with Stable Diffusion and combine a QR with an image. In the beginning, I was somehow skeptical, but I was able to make my own:

A cyborg girl as a QR.
Generate QR
Step 1: Go to your fav QR generator. I used QR Code Generator Vision:
Step 2: Choose the option URL,
Step 2: Choose the option URL,
Step 3: Type your URL in the input.
Step 4: Select the Fault tolerance H(30%)
Step 5: Click on Generate.
Step 6: Download the image as PNG preferably.

It will look like this:

Beautify your QR with Stable Diffusion
Step 1: Download and Install Python.
Step 2: Clone the Stable Diffusion WebUI repo. I suggest using GitHub Desktop or another app, it's faster.

Step 3: Download the following models:
Step 4: Copy the GhostMix model to folder: stable-diffusion-webui/models/Stable-diffusion
Step 5: Open the Terminal as Administrator/Super User.
Step 6: Navigate to your cloned repo and double-click on the app (in Windows), webui-user.bat
Note: if you don't own an Nvidia graphic card, you need to modify the filewebui-user.bat an add these commands:
set COMMANDLINE_ARGS=--skip-torch-cuda-test --precision full --no-half --skip-python-version-check
Step 7: Navigate to the location in the yellow box below. In my case, it was:
http://127.0.0.1:7860

Step 8: Go to the Extension tab:

Step 9: Install the ControlNet extension:
Step 10: Reload the website when the extension is installed.
Step 11: Go to the tab img2img.
Step 12: Write its prompt, for example:
a cubism painting of a town with a lot of houses in the snow with a sky background, Andreas Rocha, matte painting concept art, a detailed matte painting
Step 13: Write its negative prompt, for example:
ugly, disfigured, low quality, blurry, nsfw
Note: the proper distortion and light colors are what merge your QR with the AI-generated image. Read the suggestions for more info.
Step 14: Upload your QR to the img2img section.

Step 15: Choose the following configuration:
- Resize mode: Just resize
- Sampling method: DPM++ 2M Karras (the spelling might change, check the dropdown)
- Sampling step: 50
- Width: 768
- Height: 768
- CFG Scale: 7
- Denoising strength: 0.75
Step 16: Go to the bottom and expand the ControlNet section:
Step 17: Upload your QR also here.
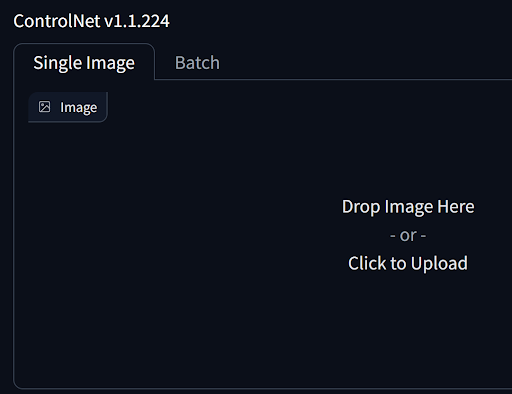
Step 18: Choose the following configuration:
- Enable: Yes
- Control Type: Tile
- Preprocessor: tile_resample
- Model: control_v11f1e_sd15_tile [a371b31b] (it might have a different name based on the version you download)
- Control Weight: 0.87
- Starting Control Step: 0.23
- Ending Control Step: 0.9
Step 19: Click on Generate.

Note:
It might take from a few minutes to a couple of hours to generate the QR. It depends on your resources.
The following example is a combination of my prompts and my QR:

Also, this is an example of all the rules for the WebUI:

Suggestions:
#1. For the QR generation, if you use another solution:
- Use a high fault tolerance of around 30%.
- Ensure you have a white margin around the QR.
- Only use squares with black-and-white patterns.
#2. Test when the new QR is generated around 70% if your reader can still read it. If it cannot, abort the generation and try again or a different prompt. You can fully cancel it if you right-click on the Generate button.
#3. For the WebUI, write text descriptions that might give you white results, such as a snowy place or metallic thing. In other cases, the QR might be unreadable by the readers. For example:


Based on: STABLE DIFFUSION ART
Comments
Post a Comment